Web3 Development With Clojurescript Pt. 0
Clojure has been my favorite language for a long time. It is not without its faults, but it is the language in which I can express my ideas in the most efficient way. It has a powerful macro system that lets you mold the language to your needs. Most Clojure code can run on the JVM as well as in a Javascript runtime (as Clojurescript). This lets us leverage two rich package ecosystems with a convenient lisp syntax.
While much of the code will be self-explanatory, a familiarity with Clojure (or other lisps) will be helpful.
What We Will Cover
This series will walk you through all the steps of creating a Web3 dApp, such as an NFT Marketplace, Zap Tool, or anything else. We’ll dive into frontend in Clojurescript and write some smart-contracts in Solidity. This is mainly targetting EVM blockchains, but its possible I’ll expand the series to cover integrating Solana support to our site.
In this initial post, we’ll go over the basics of setting up a Clojurescript project. I won’t go into too much detail in some areas, but I’ll link some resources that will explain some things much better than I can. In the next post, we’ll move on to using Javascript Web3 libraries from Clojurescript. We’ll create convenient wrappers around some important functions. This will let us write idiomatic Clojurescript which interacts with the blockchain.
In later posts, we’ll write some smart contracts of our own in Solidity, and then hook them up to our frontend so we can write code in Clojurescript that lets us interact with our own code that we’ve deployed on the Blockchain.
Getting Started
Writing Clojure is pretty simple and doesn’t require much boilerplate. We will need to install a few dependencies though.
Prep
Installing Clojure & shadow-cljs
First, install Clojure by following this guide. The instructions will be slightly different depending on your operating system.
Clojurescript is a dialect of Clojure which runs on the Javascript VM. shadow-cljs is the easiest (imo) way to compile your clojurescript to execute in the browser. It makes it dead-simple to integrate npm dependencies into your Clojurescript code. We will use npx to call it so we don’t need to install it directly, but we will need some dependencies installed in order to use shadow-cljs, namely:
- node.js (v6.0.0+, most recent version preferred)
- npm (comes bundled with
node.js) or yarn - Java SDK (Version 8+, Hotspot)
If you’re on an M1 Mac, install this JDK so you don’t have to mess with Rosetta
Once these are installed, we can initialize our project. I like to create my projects under ~/Developer, but feel free to use whichever directory makes sense to you.
cd ~/Developer
npx create-cljs-project hello-web3
The generated project will have the following structure:
.
├── node_modules (omitted ...)
├── package.json
├── package-lock.json
├── shadow-cljs.edn
└── src
    ├── main
    └── test
Creating Our First Clojure File
One of the weird things Clojure inherited from Java is its namespacing and file conventions. It might be annoying but you get used to it. The rest of the language is really really good about staying out of your way and letting you do what you want, so we have to accept these little things.
Create the file src/main/helloweb3/frontend/app.cljs. This will be our application’s entrypoint (which we will declare later in shadow-cljs.edn). In this file, add the following code:
(ns helloweb3.frontend.app) ;; declare namespace for code in this file

(defn init []
  ;; function with no arguments that just prints to the console
  (println "Hello Web3"))
Configure Builds
In shadow-cljs.edn we can specify everything about how we want to build and run our project. We will add a config that specifies how to build our frontend and what its entrypoint should be. We will also configure a development server on port 8080 which will allow us to spin up a local version of our site.
Replace the contents of your shadow-cljs.edn with this:
;; shadow-cljs configuration
{:source-paths
 ["src/dev"
  "src/main"
  "src/test"]

 :dependencies
 [[reagent "1.1.0"]] ;; A react wrapper we will use later

 :dev-http {8080 "public"} ;; specify a port (8080) and directory (public) to expose during development

 :builds
 {:frontend
  {:target :browser
   :modules {:main {:init-fn helloweb3.frontend.app/init}} ;; declare the entrypoint function
   }}}
Reagent
Reagent is a minimalistic, react-like library for Clojurescript. I hope you come to love it as much as I do.
Because it uses react under the hood, we need to install React in order to use Reagent. This is where shadow-cljs really shines. We can use npm to install any Javascript libraries we need, and shadow-cljs takes care of making those libraries available for use by our Clojure code. To install react, run this in your terminal from within the project directory:
npm i react react-domHTML
We need a basic html file to render where we’ll mount all our components.
Create the file public/index.html and put these contents in it:
<!doctype html>
<html>
  <head>
    <meta charset="utf-8" />
    <title>hello web3</title>
  </head>
  <body>
    <div id="root"></div>
    <script src="/js/main.js"></script>
  </body>
</html>
Now we’re ready to get started.
Saying hello
Let’s start by creating a reagent component that will say hello to whoever we’re dealing with. Create the file src/main/helloweb3/frontend/views.cljs and put the following code in it:
(ns helloweb3.frontend.views)

(defn hello-component ;; components are just functions
  ;; accepts one argument, bound to the symbol `name`
  ;; returns a vector describing the structure of what we want to render
  [name]
  [:div
   [:p "Hello " name]])
We can then modify app.cljs to use this component instead of the useless function it has now:
(ns helloweb3.frontend.app
  (:require
   [helloweb3.frontend.views :as views]
   [reagent.dom :as rdom]))

(defn init []
  (rdom/render [views/hello-component "Web3"]
               (-> js/document
                   (.getElementById "root"))))
Start shadow-cljs by running
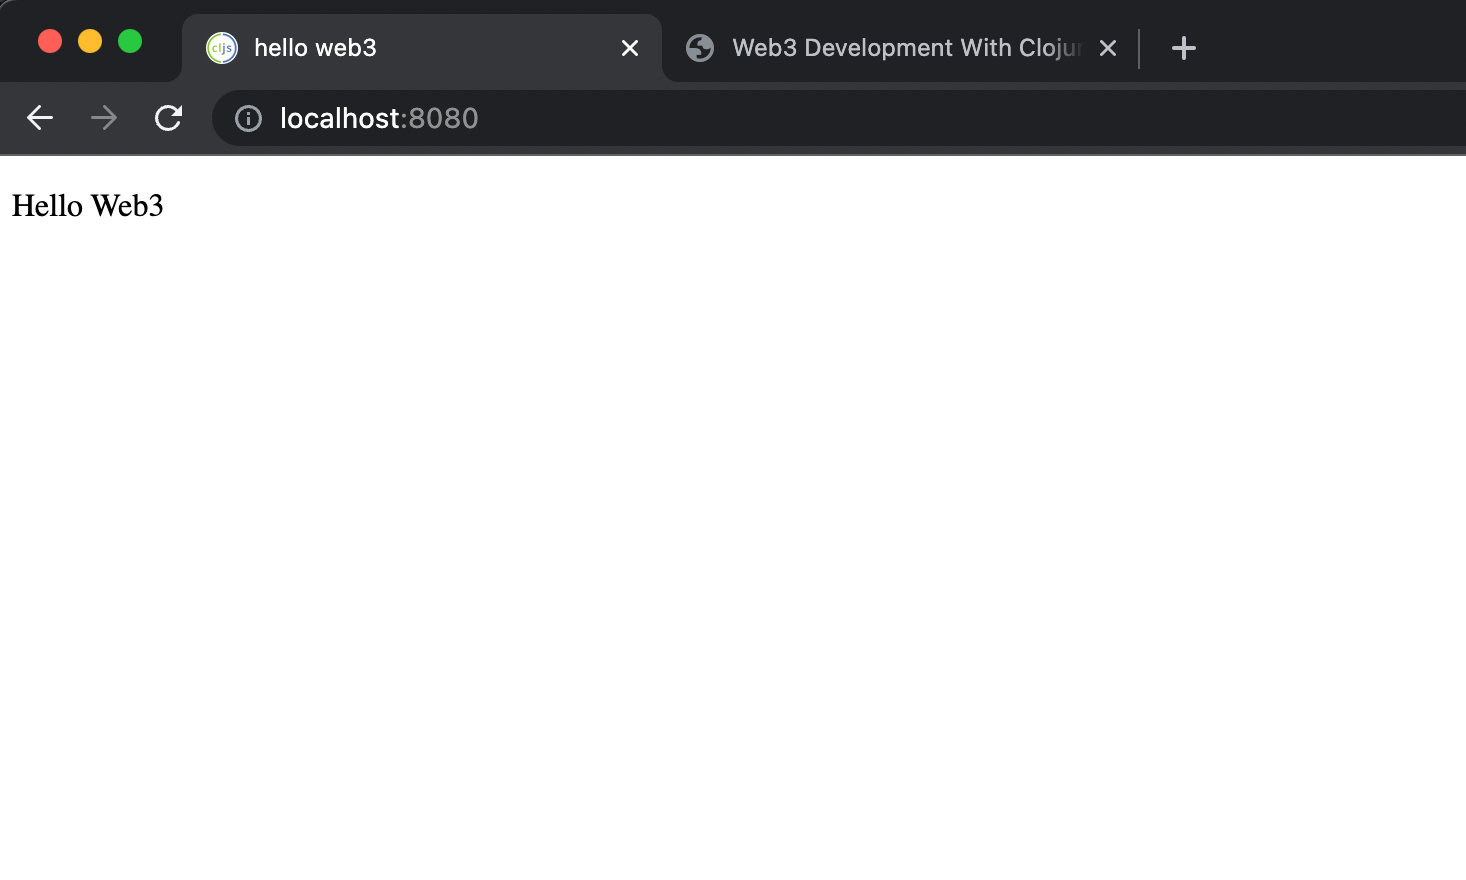
npx shadow-cljs watch frontendand then navigate to http://localhost:8080 where you should see the following:
We can change the greeting by changing the argument we’re passing to hello-component in the init function. For example, if we wanted to say “Hello z80” we’d change the function to this:
(defn init []
  (rdom/render [views/hello-component "z80"]
               (-> js/document
                   (.getElementById "root"))))
Talking to the Blockchain
Now that we can display something, lets try saying hello to the users’ address rather than just saying “Hello Web3”. We will do this by asking the user to connect his Metamask wallet. Once they do so, we will be able to ask the wallet for the users’ currently selected address, and greet them this way instead.
We’ll go over how to do this in the next post in this series